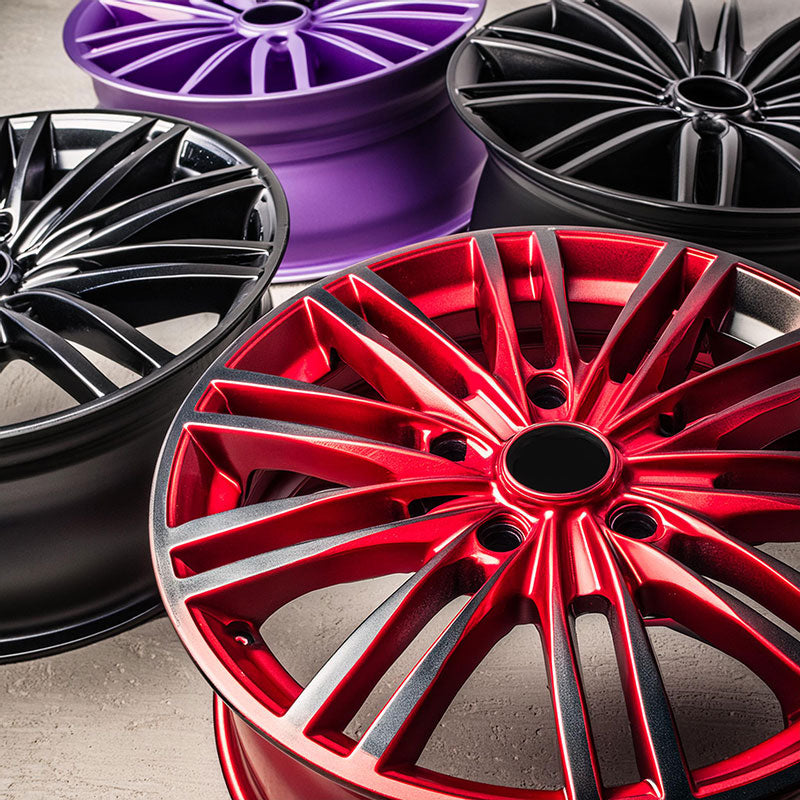
The Step-by-Step Guide to Achieving Professional Results with DIY Powder Coating
Powder coating is a versatile and durable way to finish metal surfaces, and with the right tools and knowledge, you can achieve professional results right in your own garage or workshop.
Here is a step-by-step guide to help you master the art of DIY powder coating:
- Preparation: This is the most important step in the powder coating process. Make sure the item you are planning to coat is squeaky clean and free from any grease, oil, or dirt. For metal objects, this might mean using a sandblaster or chemical degreaser. Any residue can interfere with the coating process, leading to a less than satisfactory finish.
- Ground yourself and your workpiece: Powder coating uses an electrostatic charge to make the powder adhere to the object. In order for this to work properly, you need to make sure that both you and the workpiece are properly grounded. You can do this by using a grounding clamp and a wire connected to a bare metal surface.
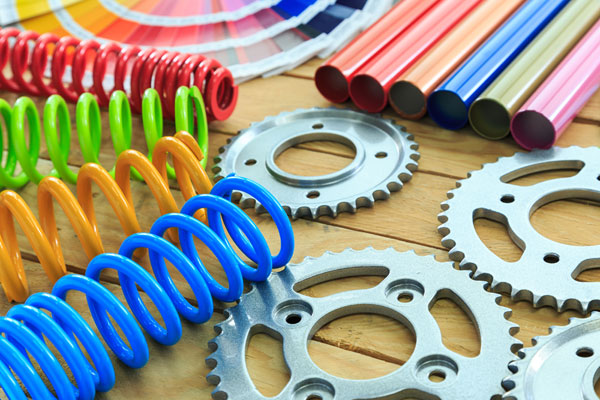
- Use the right powder for the job: There are different types of powder coat available, each with its own properties. Make sure to choose a powder that is compatible with the material you are coating and that will achieve the desired finish
- Control your air pressure: The air pressure from your spray gun will affect the thickness of the powder coat. If the air pressure is too high, the powder will be too thin and may not cover evenly. If the air pressure is too low, the powder will be too thick and may run or sag.
- Use a steady hand and even strokes: When applying the powder, use a steady hand and even strokes to ensure a uniform coat. Avoid overcoating any areas, as this can lead to drips and runs.
- Bake the powder at the correct temperature and time: Once you have applied the powder, you will need to bake it in order to cure it. The correct temperature and time will vary depending on the type of powder you are using, so be sure to consult the manufacturer's instructions.
- Let the powder cool completely before handling: The powder will be very hot after it comes out of the oven. Allow it to cool completely before handling to avoid burning yourself.
- Clean your equipment: It is important to clean your powder coating equipment after each use. This will help to prevent clogs and ensure that your equipment functions properly.
- Practice on scrap metal first: Before you start coating your final project, it is a good idea to practice on a piece of scrap metal first. This will help you to get the hang of the technique and ensure that you are happy with the results before you move on to your final project.
- Work in a well-ventilated area: Powder coating can create dust, so it is important to work in a well-ventilated area. You should also wear a respirator to protect yourself from inhaling the powder.
By following these steps carefully and investing in quality materials and equipment, you can achieve professional-looking results with your DIY powder coating projects right at home.
Tips and Tricks for Successful DIY Home Powder Coating Projects
Several tips and tricks can help ensure a successful outcome when embarking on a DIY home powder coating project. One key factor to consider is proper surface preparation. Make sure to thoroughly clean and degrease the item you plan to coat before applying the powder.
Additionally, pay close attention to the curing process.
In case you encounter any issues during your DIY powder coating project, such as orange peel texture or uneven coverage, troubleshooting techniques can come in handy. Understanding common mistakes in home powder coating, like applying too thick of a coat or not properly grounding the item, can help you avoid these pitfalls.
- Thinner mils for tighter tolerances: Moving beyond basic applications, consider using thinner mil powders (powder thickness) for tight-fitting parts. This ensures smooth operation and avoids scraping or binding.
- Multiple thin coats for a flawless finish: For a truly professional look, apply multiple thin coats instead of one thick layer. This minimises the risk of runs, drips, and uneven coverage, resulting in a superior finish.
- Pre-heating complex shapes for even application: For intricate objects with deep pockets or recessed areas, pre-heat them to around 200°F (93°C) before powder coating. This helps the powder flow better and ensures even application in those hard-to-reach spots.
- Hot flocking for texture and grip: Take your powder coating a step further with hot flocking. Apply a textured powder coat first, then while it's still warm, use a flock gun to apply short fibers for a unique textured grip on handlebars, tools, or other objects.
- Electrostatic shielding for tricky areas: For parts with grounded sections that interfere with powder adhesion, use temporary electrostatic shielding. This can be achieved with foil or conductive tape to block the charge and allow for even coating.
- Waterfall technique for intricate pieces: Master the waterfall technique for complex geometries. Here, you move the grounded part continuously through the powder spray, ensuring complete coverage even in hidden areas.
- Recycle overspray with a reclaim system: Minimise waste and save money by using a powder reclaim system. This captures overspray and allows you to reuse it, reducing powder consumption and environmental impact.
- Adjust air flow for different powder types: Different powder types require adjustments in air flow for optimal application. Experiment with lower air pressure for finer powders and slightly higher pressure for heavier types to achieve the desired flow and coverage.
- Dipping for high-volume, simple parts: If you're dealing with a high volume of simple-shaped parts, consider using a dipping technique. Pre-heated parts are dipped into a fluidised bed of powder, ensuring a quick and even coat.
- Colour mixing for custom finishes: Explore the world of custom colors by mixing compatible powder types. Research and experiment to create unique hues and finishes that perfectly match your project's aesthetic.
By implementing these tips and tricks, you can enhance your skills in DIY powder coating and achieve high-quality results in your projects.
Remember to clean your equipment thoroughly after each use to keep it in good condition and ensure a high-quality finish every time.